Frostpunk 2 is a city building survival game that has many different aspects and elements woven into the gameplay. It is a game that overwhelms the player at first, but slowly mires them in its never-ending struggle for a thriving society.
One of the gameplay elements that players can explore early on is exploring the Frostlands with exploration teams dedicated to the task. This might seem like an auxiliary part of the game, but it actually plays a key role in progressing the story and helping players procure the resources necessary to thrive in the nuclear winter.
How to Establish Outposts in Frostpunk 2
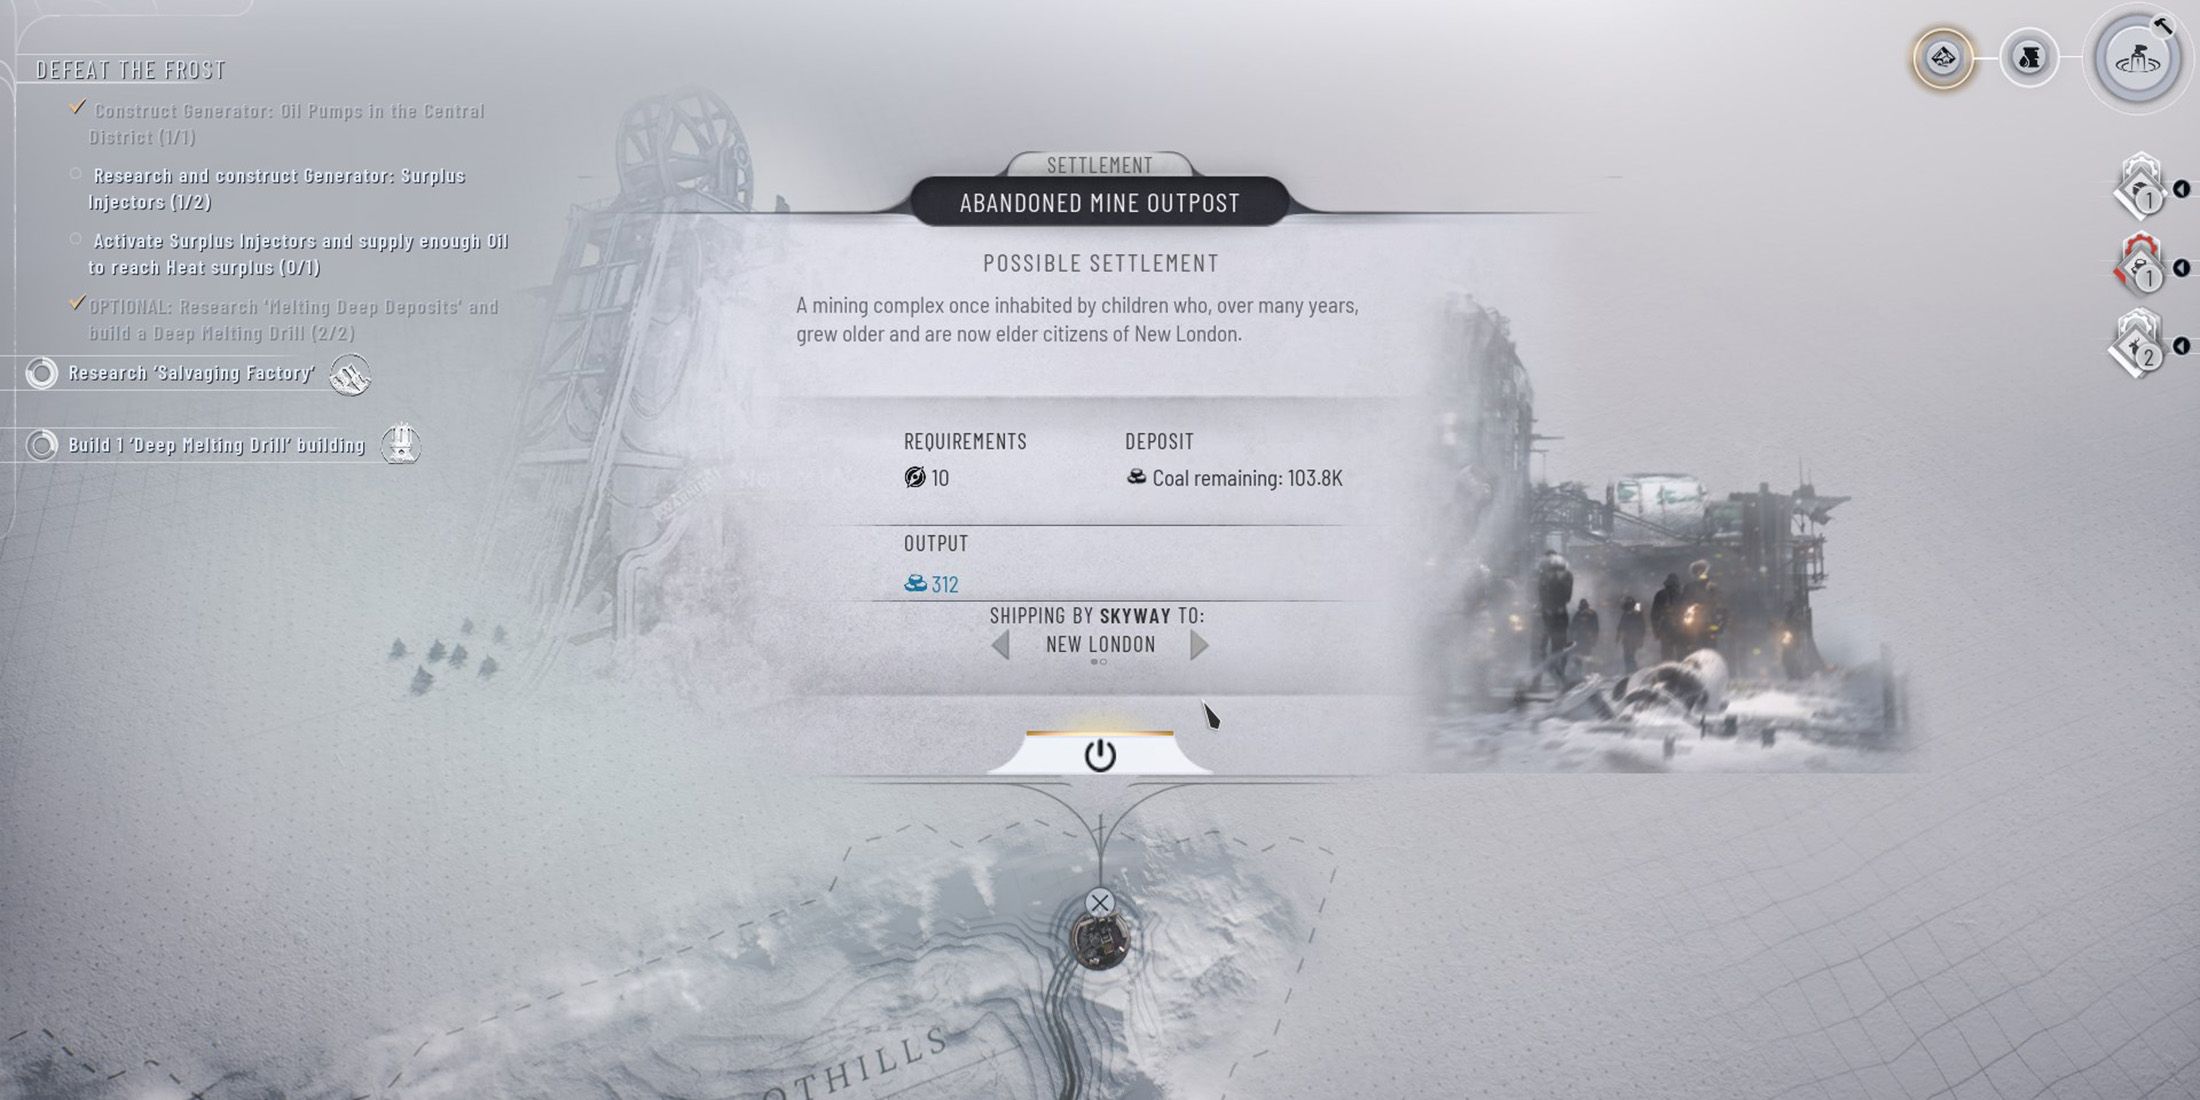
As you explore the outlands, you will come across a multitude of interactive locations which will give you different options. Some will let you claim a large reserve of resources for your city stockpile, while others will let you set up a supply line to extract the resources available at that location.
Obtaining reserves involves sending a Frostland exploration team of the specified amount, who will then bring back the supplies. These can be seen by an icon on the Frostlands menu as they slowly inch their way towards your hub. Similarly, to set up supply lines, players need to first explore the location, and then connect it with their main city using Trails or Skyways.
Players need to find the Old Dreadnought and start a colony there to progress in the story mode beyond chapter 1. This will let them harvest oil, and send it back to their main hub. After they’ve established a colony, they can start harvesting the resources there.
How to Transfer Oil & Other Resources in Frostpunk 2
When you first establish your colony, you’ll notice that the resource demands there are different from those in your main city. Similarly, the resources you extract in a colony will remain there until the player transfers them using the resource transfer menu.
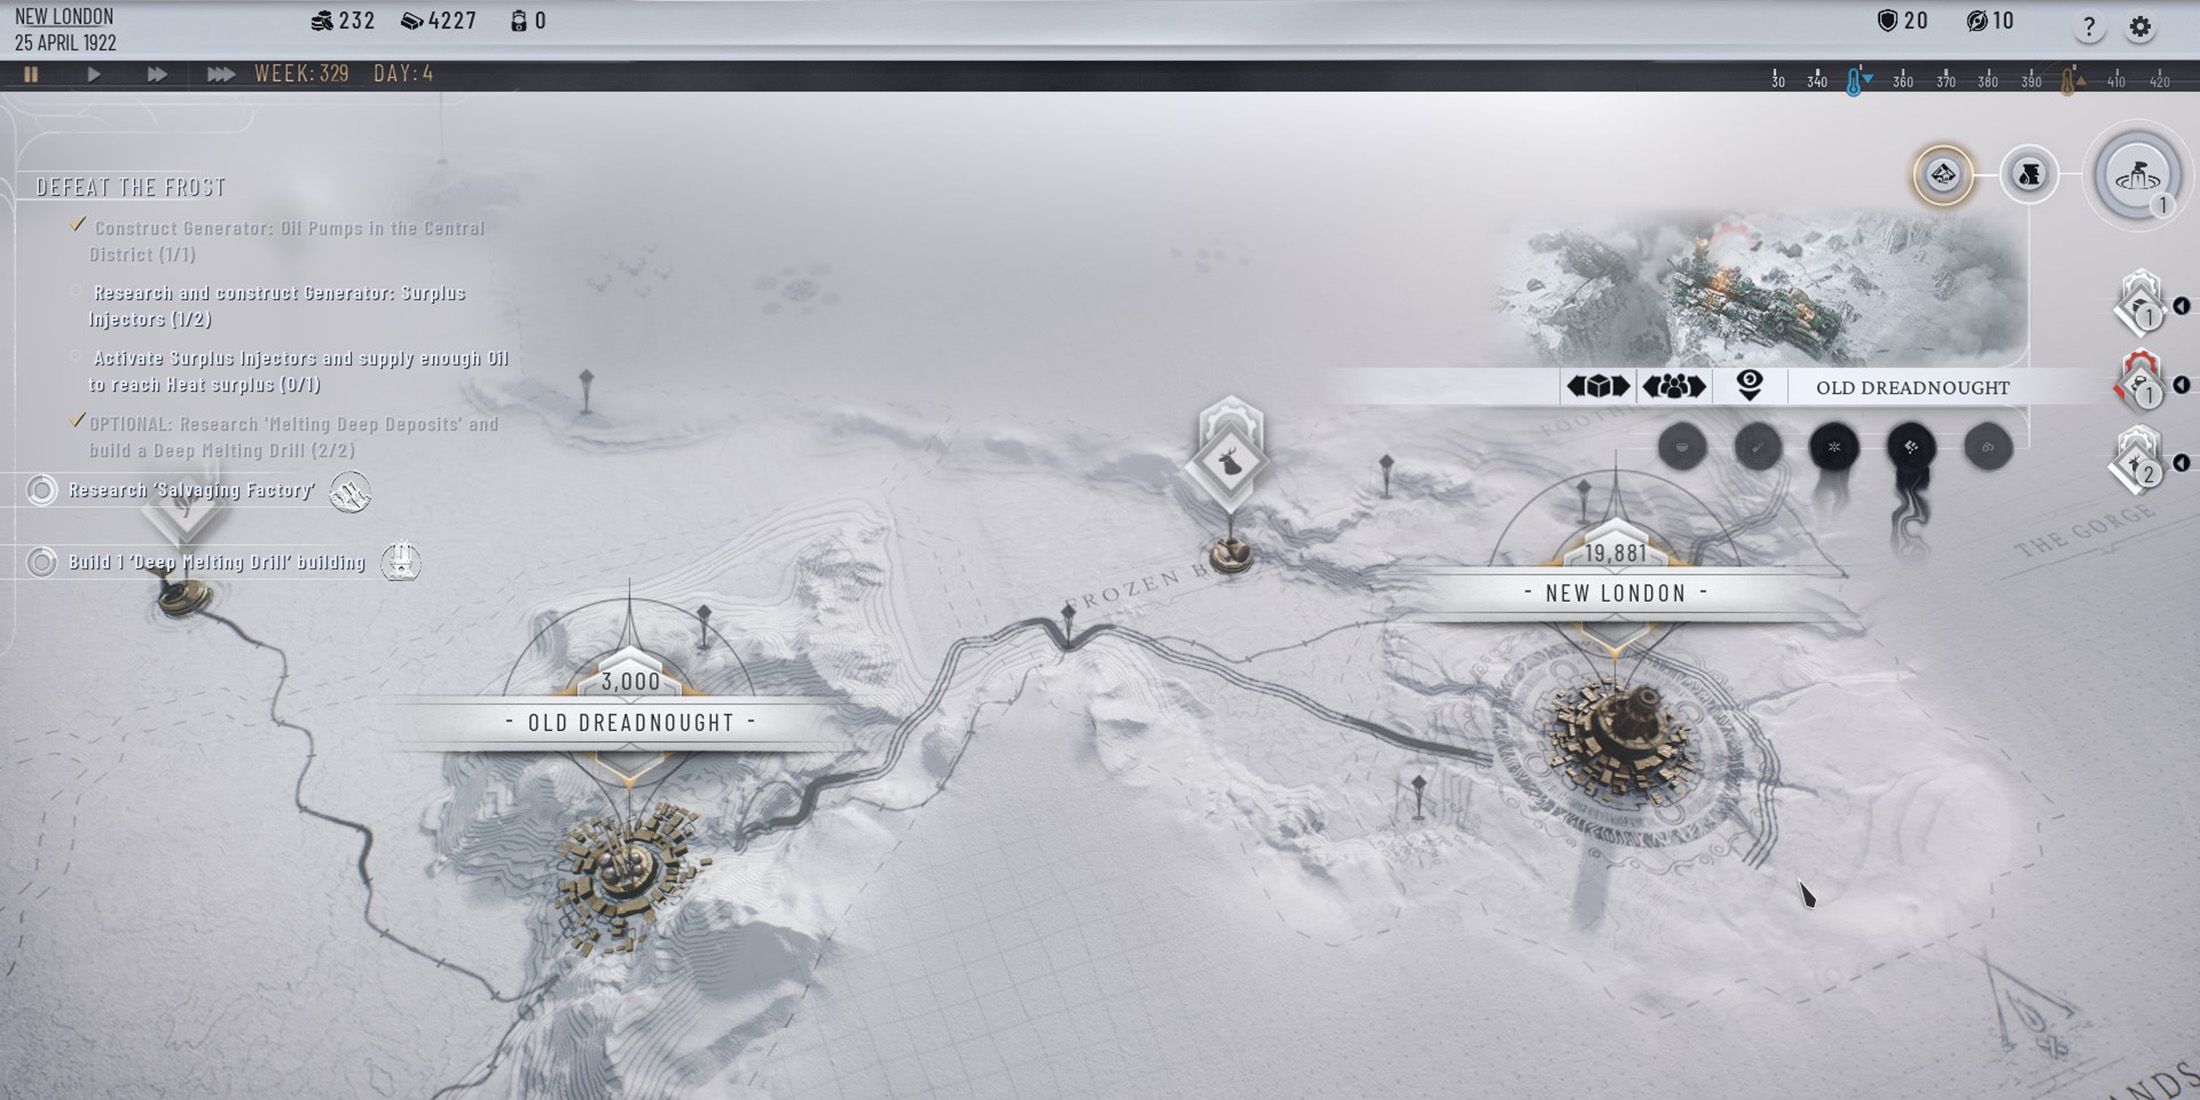
- On the top right of your screen, you’ll see the Expeditions icon which lets you explore the Frostlands. After you’ve established a colony, you’ll see a small icon next to it.
- Click that icon to open up the colony menu, which will show you your city and colonies. Clicking either the colony or city icon will bring up a context menu with a few options.
- The eye icon will let you change your location to the specified colony, the people icon will let you transfer the population, and the box icon will let you transfer resources.
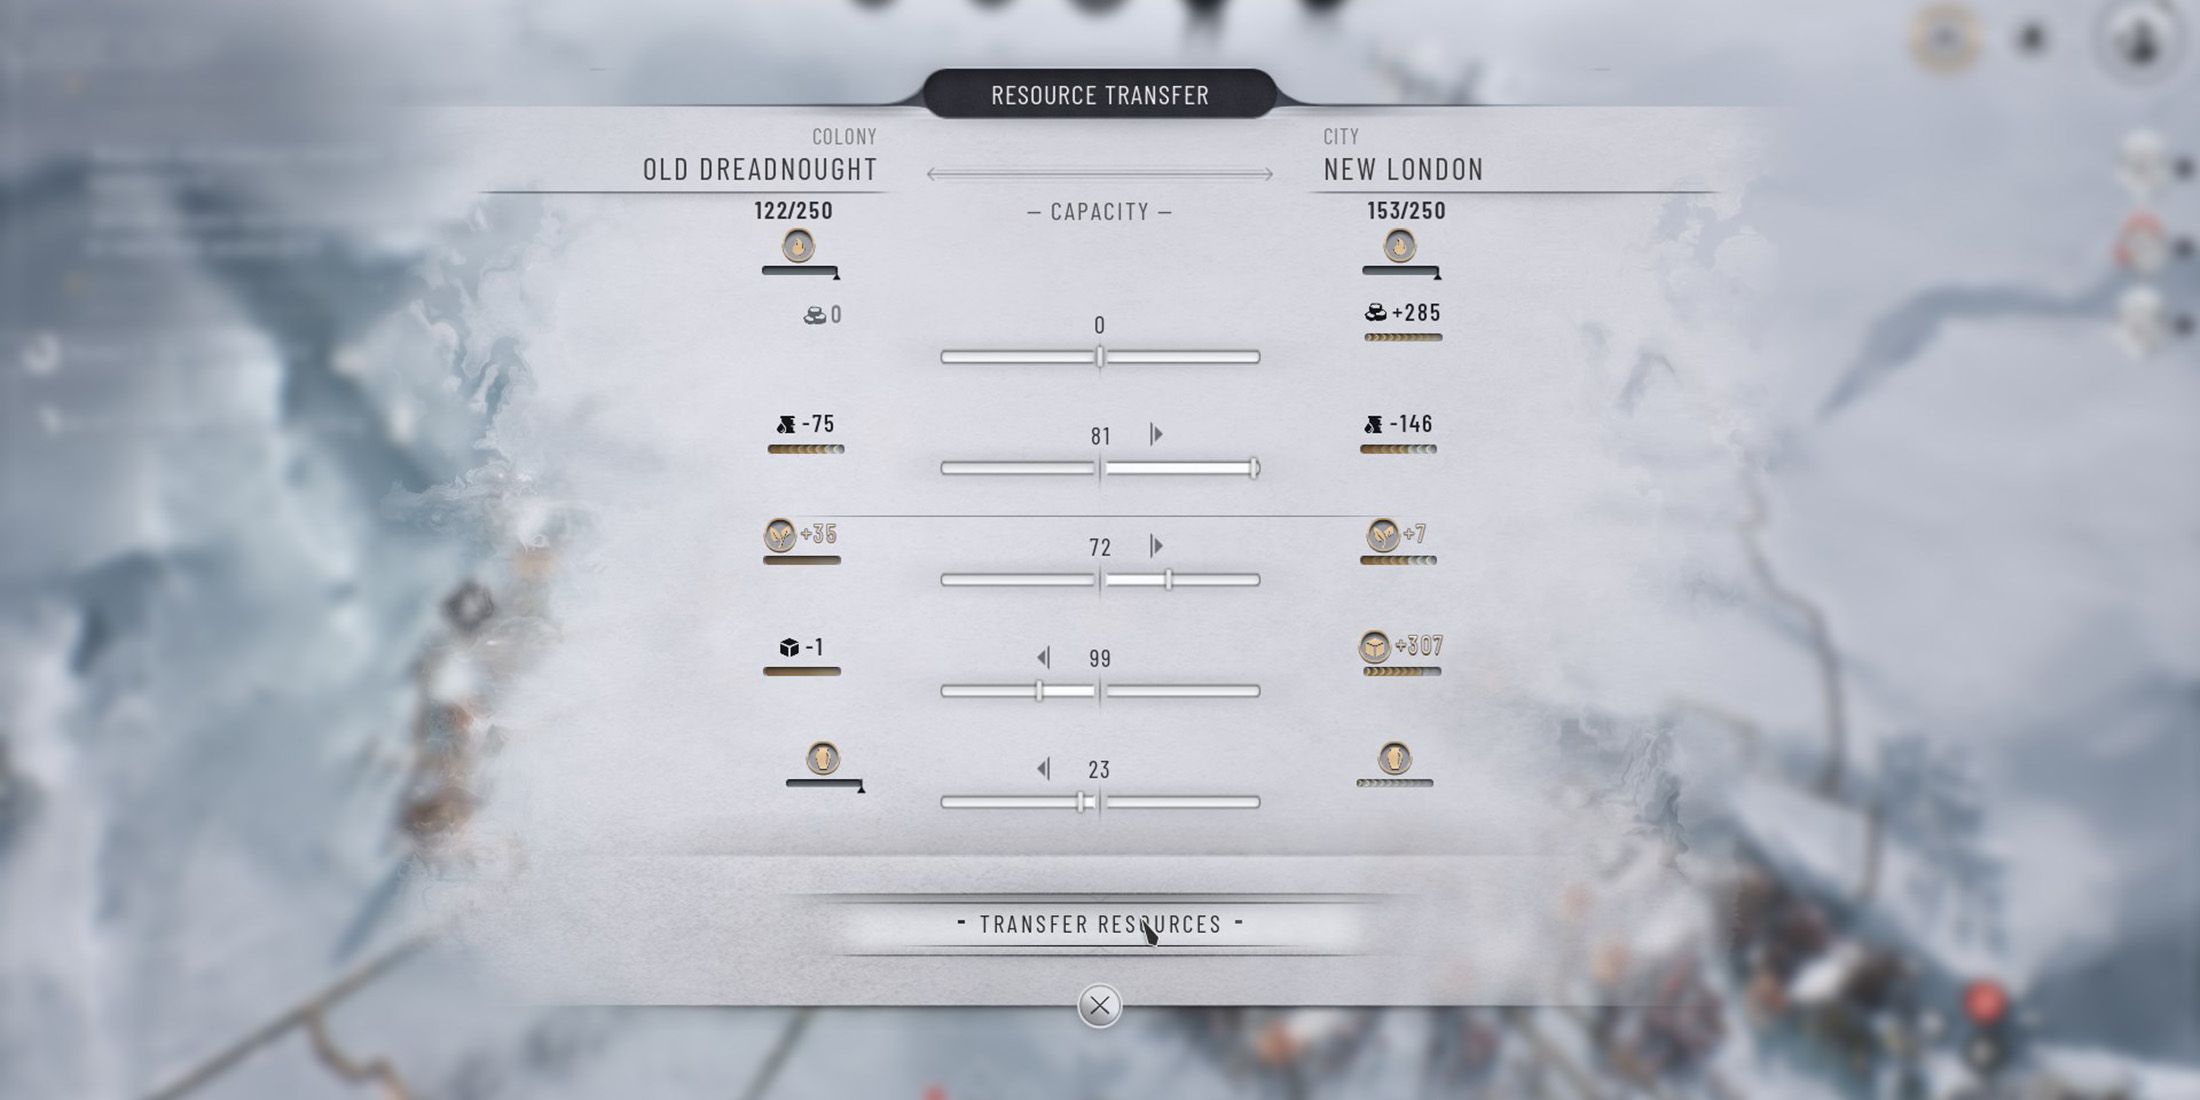
- Click the box icon to bring up a menu which lets you use a slider to determine which colony gets how much of each resource.
There is a limit to the amount of resources you can transfer at one time, which is determined by the connections between your colony and your city. If you transfer more resources than your Trails and Skyways will allow, the transfer button will be grayed out.
- After you’ve adjusted the sliders to your liking, click the transfer button on the bottom of the menu to initiate the transfer.
- You can transfer population between the two colonies in a similar manner, using the people icon in the colony context menu. Keep in mind that only a certain percentage (roughly 60-80%) of the population will end up in the workforce.
How to Increase Transfer Limit in Frostpunk 2
The transfer limit in Frostpunk 2 is dictated by the type of connection between your colony and hub. If Trails connect the two locations, then it means that players will only be able to transfer 500 resources, 250 on each side, at a time.
Having multiple connections between your colony and hub doesn’t make a difference in the transfer limit.
However, if they build their connection using Skyways, they will have a limit of 600 for each side, meaning 1200 total. Skyways cost a little more than trails, but are well worth the investment. They make resource transfer much easier, alleviating the pressure on both your colony and your hub.


