The Mucid Terrarium is the last Section Dungeon players will have to traverse before facing Alepsis Taura in Remnant 2’s The Dark Horizon DLC, and it’s a pretty nasty death trap, filled to the brim with Corrupted, Parasytes, Specters, and other N’erudian enemies.
This guide will help you cover terrain fast and reach the boss room, and it will also detail the best way to beat the two bosses of this dungeon: Amalgam Kel’Roth and Amalgam Relis.
How To Reach Mucid Terrarium In Remnant 2
There are two main areas in The Dark Horizon DLC: one is the Agronomy Sector, where players can find the Detritus Foundry Section dungeon, and that connects with the Withered Necropolis, which is the second area players should explore.
To reach the second Section dungeon, players will first spawn near the Gardener in the Withered Necropolis landing area. From the World Stone there, they should travel west until they reach a Glider bot. Once up in the air, they should look for another landing area a little bit further west, where a stream of hot air can propel them upward.
Players should grab the current and turn east, then glide to the platform below and follow the path until they reach the Dilapidated Auditorium World Stone, then turn around and walk past the first section. Players will soon see a huge dungeon door waiting for them. This entryway leads into Mucid Terrarium.
Exploring Mucid Terrarium In Withered Necropolis
Zone enemies:
- N’erud Zombie
- Four-Arm Minion
- Decapitated Robot
- Parasyte
- Pink Specter (Elite)
- Amalgam (Elite)
The path is pretty straightforward, and players will soon have to fight their way into the innermost part of the dungeon. The Zombies, Robots, and Parasytes can be quite hard to deal with, especially in closed spaces. Keep following the path until reaching a mid-section separated by strange machinery. Inside you might find world-drop loot like the Momentum Driver ring. There’s also a chance for Tomes of Knowledge and Chests to appear here, so make sure to check the corners of the hall.
In this zone, it is common to find Specters and Amalgam Elites waiting for players to pass by, so watch out for the walkways above and be ready to dodge the Zombies when they start popping out of the pods. Players should always pay attention to their surroundings to watch for Decapitated Robots that can drop from the ceiling, typically at the worst possible time. Arguably, these are the most annoying enemies present in The Dark Horizons DLC.
Pod Chamber And Boss Room Path
Further ahead lies a Pod Chamber, with many of these pesky enemies popping out of them in swarms. The best way to deal with them is to equip a mod that causes area damage like Firestorm, but watch out for friendly fire.
Stay clear of the corners and lower walkways, since the enemies like to swarm players there.
There’s another section ahead with a closed door on the left side, while the right side leads to more walkways, and some stairs that players can climb to avoid the lower sections filled with pods. If players want to skip unnecessary fights, they should take this path.
Once you go beyond this section, there’s a walkway taking players upward, and finally a hallway with an elevator that will lead to the checkpoint of the dungeon — and the boss room. But first, players will be attacked by an Elite Pink Specter, which is quite an annoying enemy that can insta-kill uncareful players.
To prevent this from happening, try to stay as far away from the Specter as possible. That way, when the enemy uses its crowd control skill that summons a tiny wormhole, players can shoot it down from a safe distance. Once they have dealt with this annoying Elite, they are cleared to take the elevator and reach the checkpoint before the boss.
How To Beat Amalgam Kel’Roth & Amalgam Relis
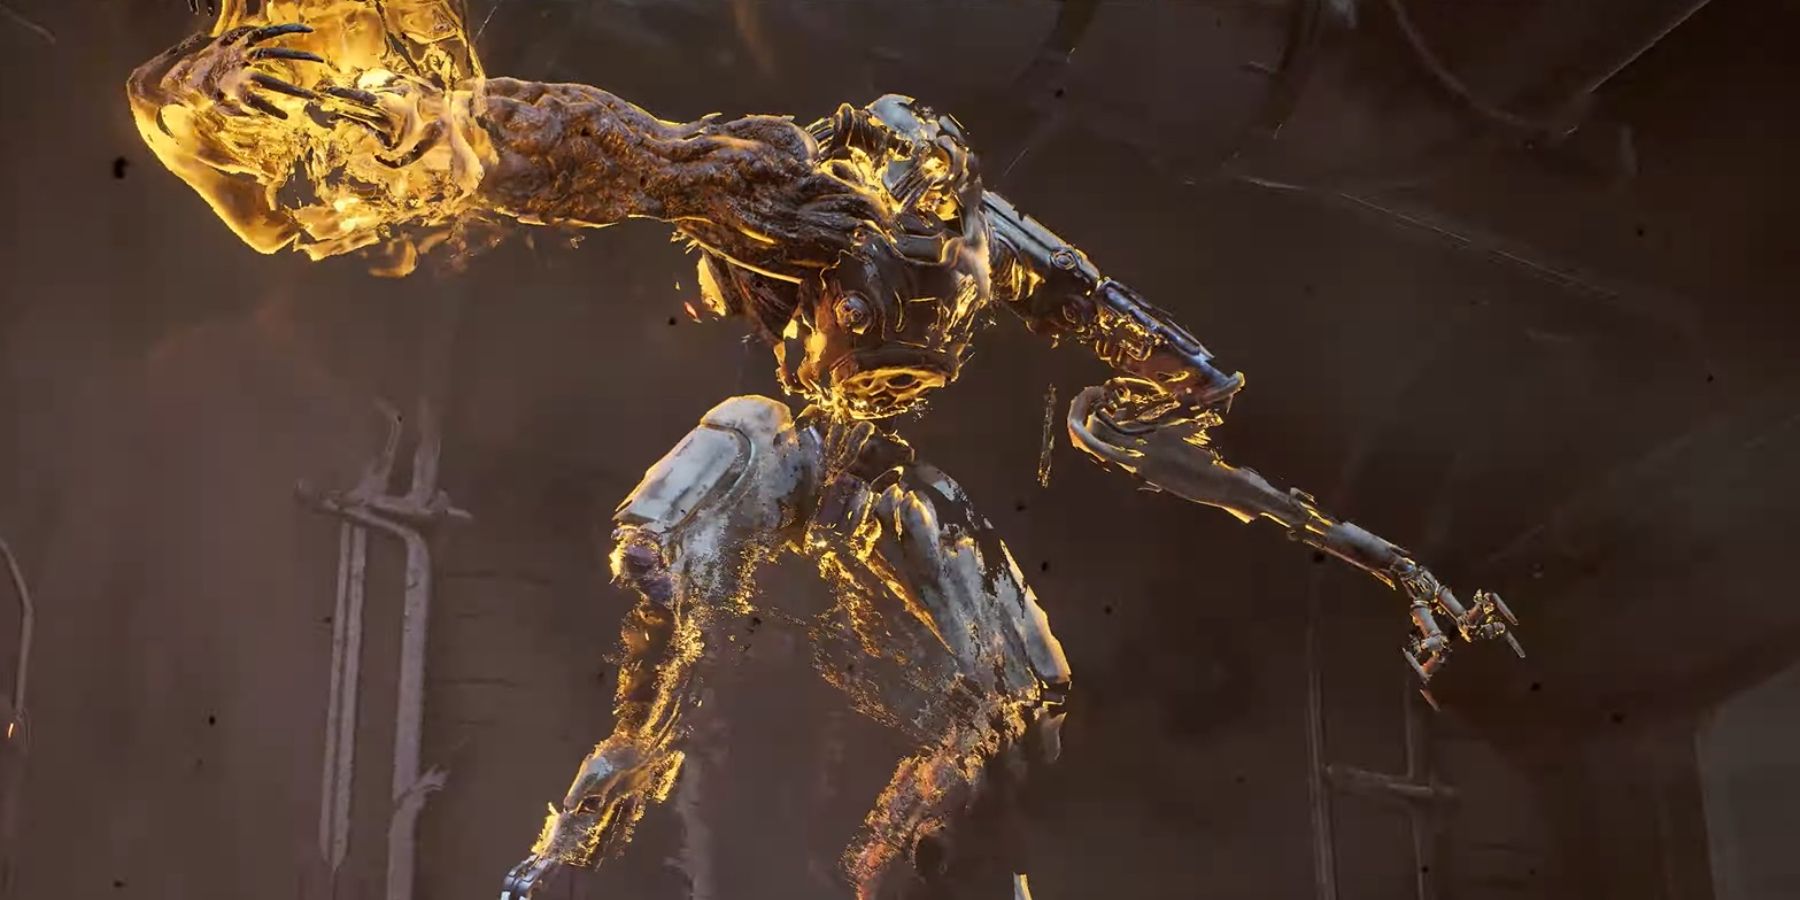
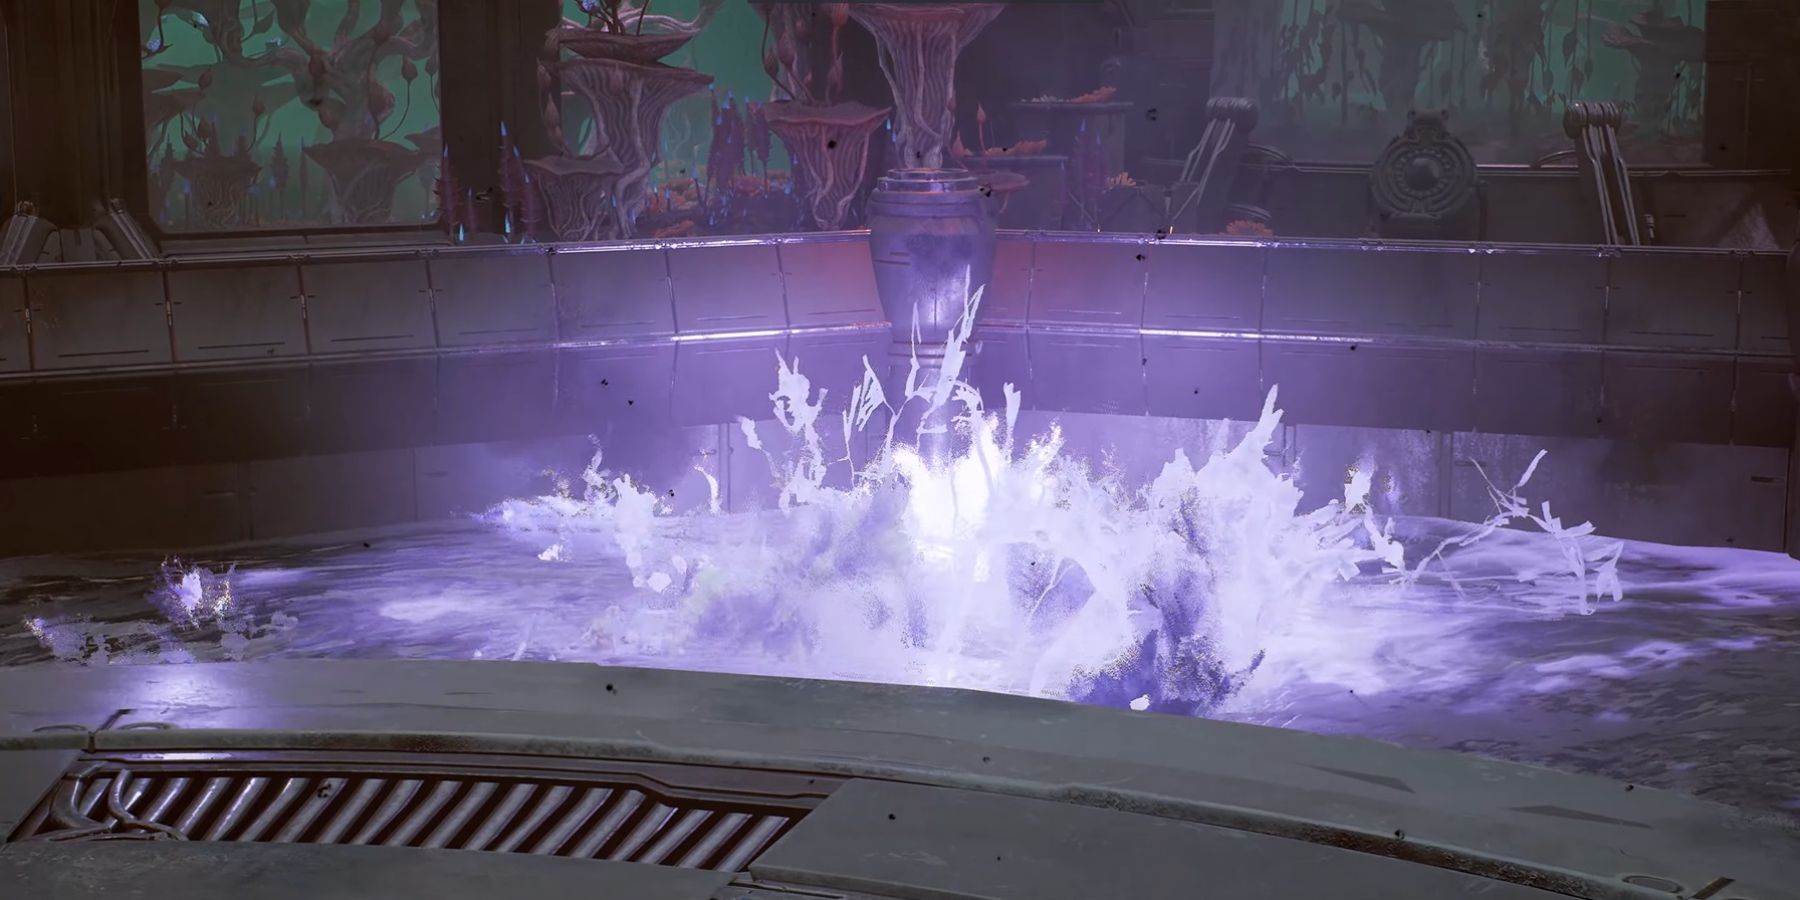
Once players step into the Boss Room, they’ll witness a cutscene where an overcharged Amalgam enemy jumps out of that characteristic N’erudian purple goo. Once it lands on the walkway, it’s time for a tough fight.
Amalgam Kel’Roth & Amalgam Relis Attack Moves
Amalgam Kel’Roth has several annoying attacks that players should be aware of:
- Tentacle Strike: Uses the mass of tentacles in its right arm to jump at the player and smash the ground. It can be dodged by a small window of opportunity before it hits the ground. Causes high damage and staggering if not evaded.
- Void Tornado: Throws a gust of void energy forward that can push back the players. It travels fast in a straight line, so it can be avoided by dodging to either side.
- Black Wave: Channels a huge wave of dark goo that covers most of the terrain. Players need to dodge at the right moment, just when the wave is about to strike. Dive into it for the best chance to avoid damage.
- Big Void Tornado: Throws a bigger and more damaging tornado in a straight line. It is similar to the smaller version, so it can be avoided by dodging.
- Levitation: Kel’Roth does this right before using Tentacle Strike or Black Wave, so players should be careful as this might be the signal for another of its annoying moves: the Charge Attack.
- Charge Attack: After distancing from the player, Kel’Roth dashes forward, blasting anything in its path. It can repeat the same attack two to three times.
- Small Blast: Blasts players in melee range with a small wave of energy. Causes moderate damage and pushback.
- Shockwave: Slams the floor in front and causes moderate damage. The auto-dodge should be sufficient to avoid being damaged if in melee range.
- Slash attack: Kel’Roth pushes forward, slashing with its left arm. It can track players, so dodging two or three times in quick succession might be the only way to avoid it.
Boss Fight Mechanics Overview
With notable attacks covered, it’s time to summarize some of the boss fight mechanics. First, Kel’Roth will try to corner players using the Slash attack and blast them with Black Wave, the Tentacle Strike, or the Small Blast. When players overwhelm the boss with more damage than it can take, it will Levitate and take distance, then use several Charge Attacks in quick succession.
Once the players cause enough damage (approximately 75% of the HP bar), Kel’Roth will dive into the black goo, and a roar will be heard. Then, a new Amalgam Boss will pop up — Amalgam Relis. The new Boss will immediately resume the fight and will have the same array of abilities as Kel’Roth. The other boss will wait for the right moment and jump again to the fight, so now players have to face both at the same time.
Players need to quickly finish up Kel’Roth, as it will try to overwhelm them. The best strategy to do this is to run to the other side by dodging the two bosses and throwing Kel’Roth everything in their arsenal. Once it is dead, it’s time to deal with Relis, which is more or less the same process. Dodge, wait for an opening, dive into its Black Wave attack, and avoid being hit by the Charge Attack.
Mucid Terrarium Boss Loot: Voidlight Mod
Kel’Roth and Relis will grant players a crafting item upon their demise called Voidlight Core. This gadget can be brought back to McCabe in Ward 13 to forge a new Mod.
Voidlight Mod: Launches a projectile that releases a Voidlight, which remains dormant for 10s. While active, it absorbs other damage sources. After expiration, it explodes and fires up to five projectiles that hone in on enemies within 15m. Projectiles deal 250 Mod Damage split among the enemies hit, dealing an additional 150 per 100 Base Damage absorbed (up to a maximum of five enemies targeted). It requires 850 Mod Power to activate.
Voidlight is quite a useful Mod, and it can be combined with many Archetypes with mod generation Perks to deal massive damage to enemies in a wide area.


