As part of The Mysterious Rifts main story quest in Zelda: Echoes of Wisdom, the princess will need to get through the Stilled Suthorn Forest to make it to the Suthorn Ruins, the first major dungeon in the game. If you need help with all the puzzles in the ruins, we have a guide here just for you.
We’ll also show you where to find all chests in the Suthorn Ruins, the Boss Key, and how to actually beat the boss without much trouble.
Suthorn Ruins Dungeon Walkthrough (1F) – Echoes of Wisdom
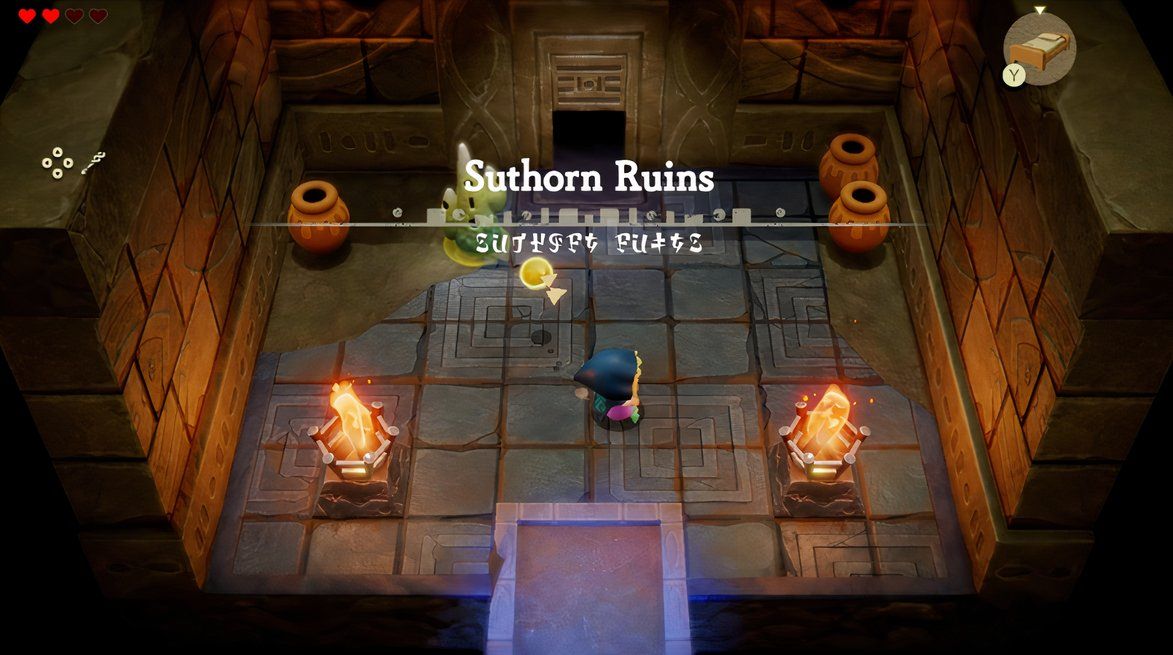
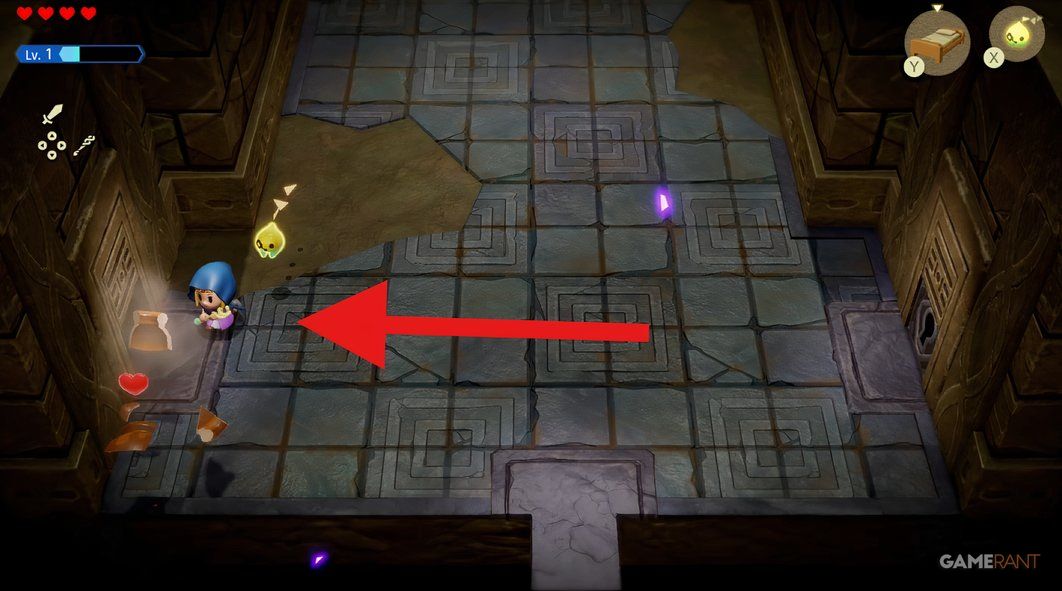
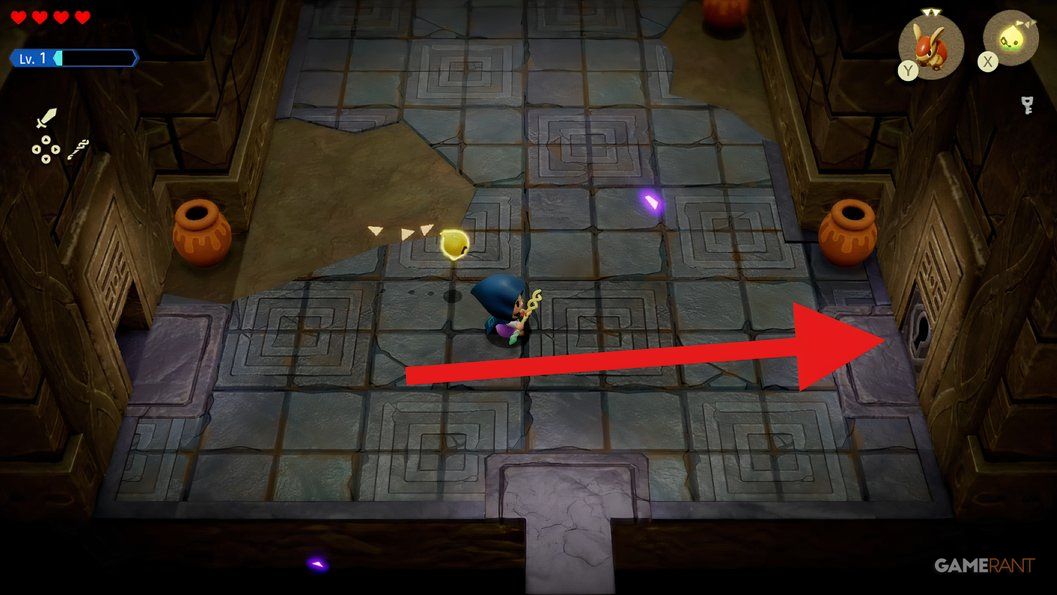
From the entrance of the dungeon (with the fast travel waypoint), head into the first room. Tri will teach you how to Bind it to objects and monsters.
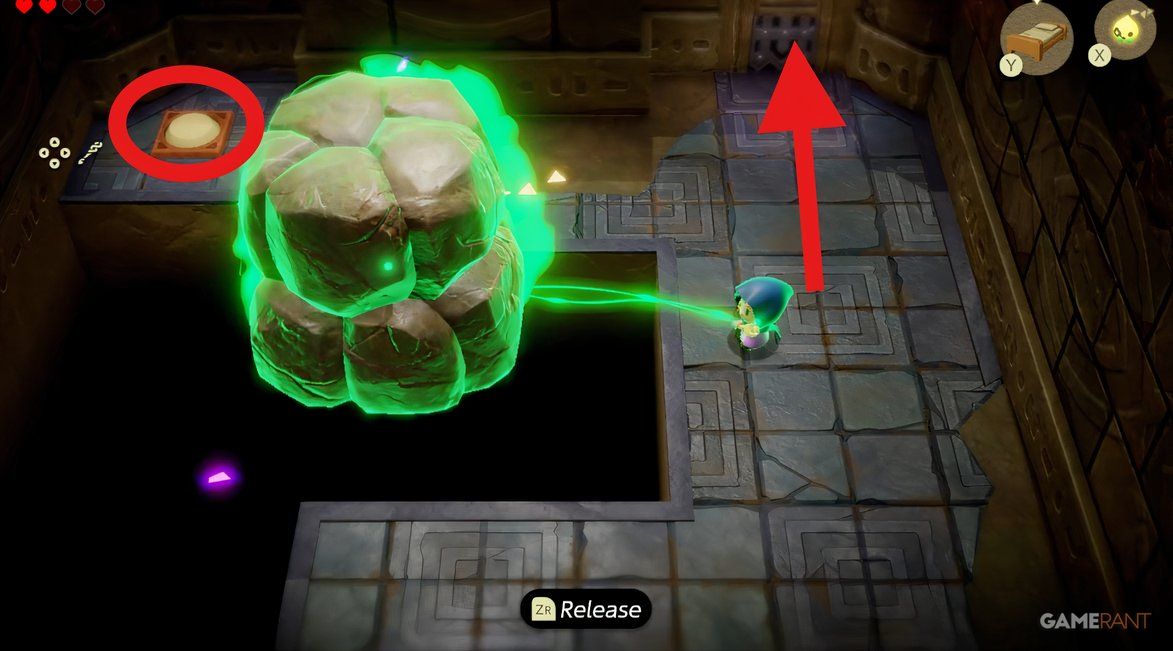
Press the X button to shoot Tri at the boulder and then drop it into the abyss. Step on the button to open the locked door and head into the room.
Suthorn Ruins Chest 1
In this next area, you’ll find a boulder on a ladder. Before going down, move the boulder into the space in the upper left with Bind, giving you a walkway towards a room to the west.
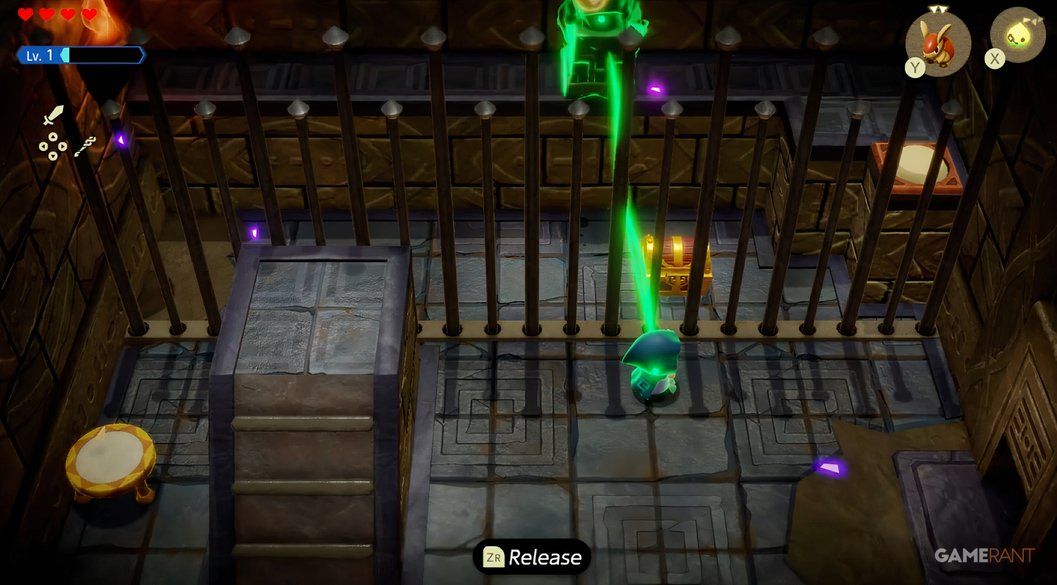
Use Tri’s Bind power to pull the treasure chest out of the dirt. The chest has five portions of Radiant Butter.
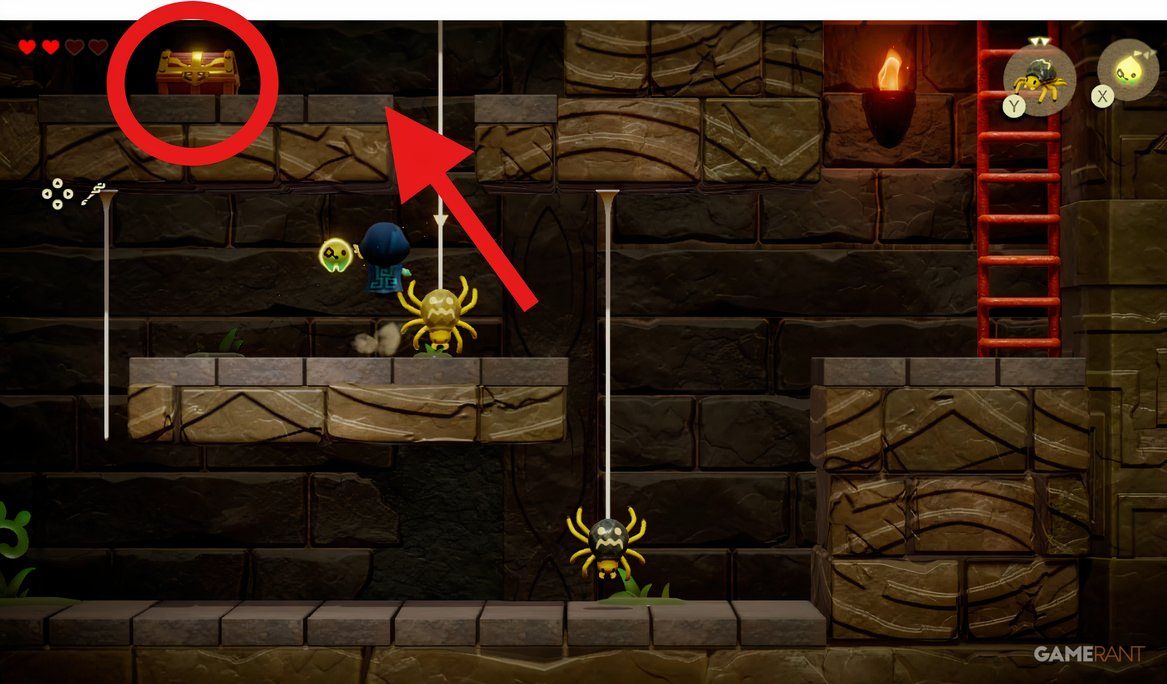
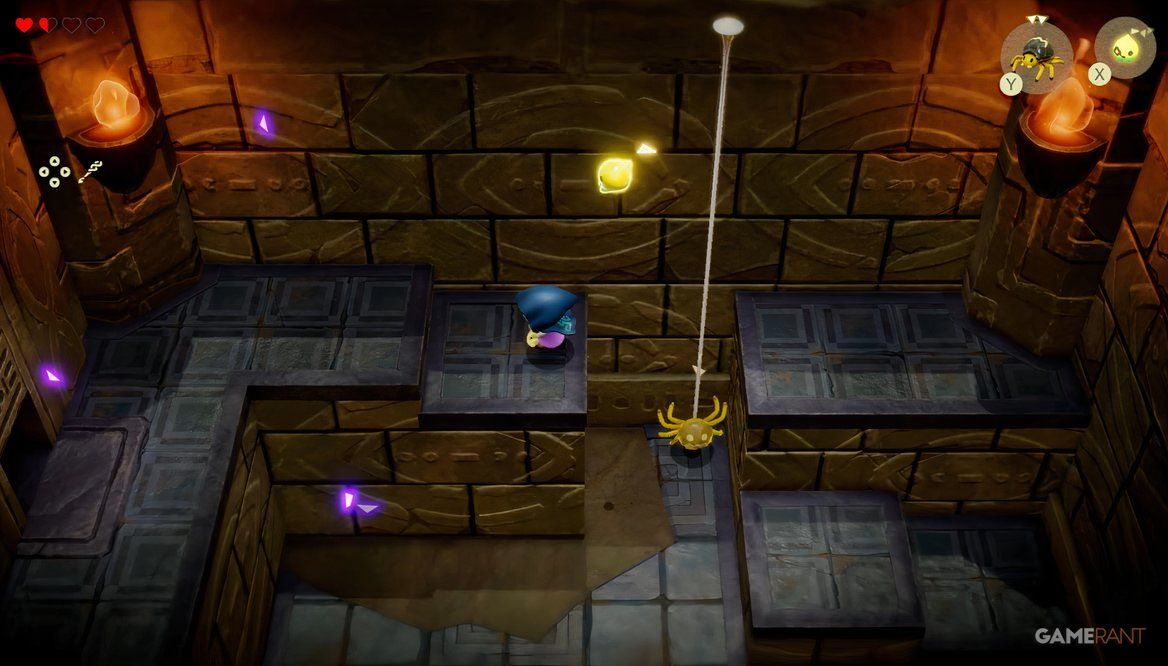
Head back to the room with the ladder and enter a 2D area with a bunch of spiders. You can climb the web left behind to get around the dungeon.
Suthorn Ruins Chest 2
You’ll spot a chest towards the top of the area. You can reach it by defeating one of the spiders to learn the Strandtula Echo and summoning one to give Zelda some verticality. The chest will have the Dungeon Map for Suthorn Ruins (and the surrounding Still World).
Keep heading to the right and climb the ladder to enter the 1F again.
Break the pots (we found some refreshing grapes) and then use the Strandtula Echo to reach the higher platforms. (You can probably use beds or something, too.) Now, head out of the room on the west side.
Next, head left and up to find a fancy stone elevator, which will take you to the second floor of Suthorn Ruins.
Suthorn Ruins Walkthrough (2F) – Echoes of Wisdom
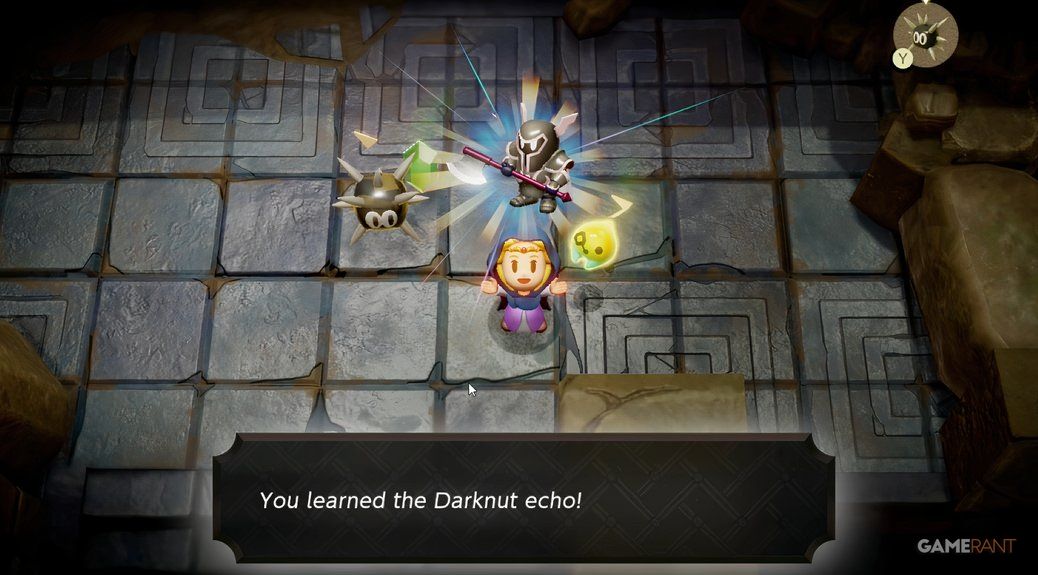
Get off the elevator and walk up the long staircase to reach a Darknut, the baddie with a scary axe. I used Sea Urchins on him, but feel free to use whatever works for you. Once he’s dead and gone, you can learn the helpful Darknut Echo. After that, there’s nowhere to go on the right side, so head left, up the staircase, and into the door.
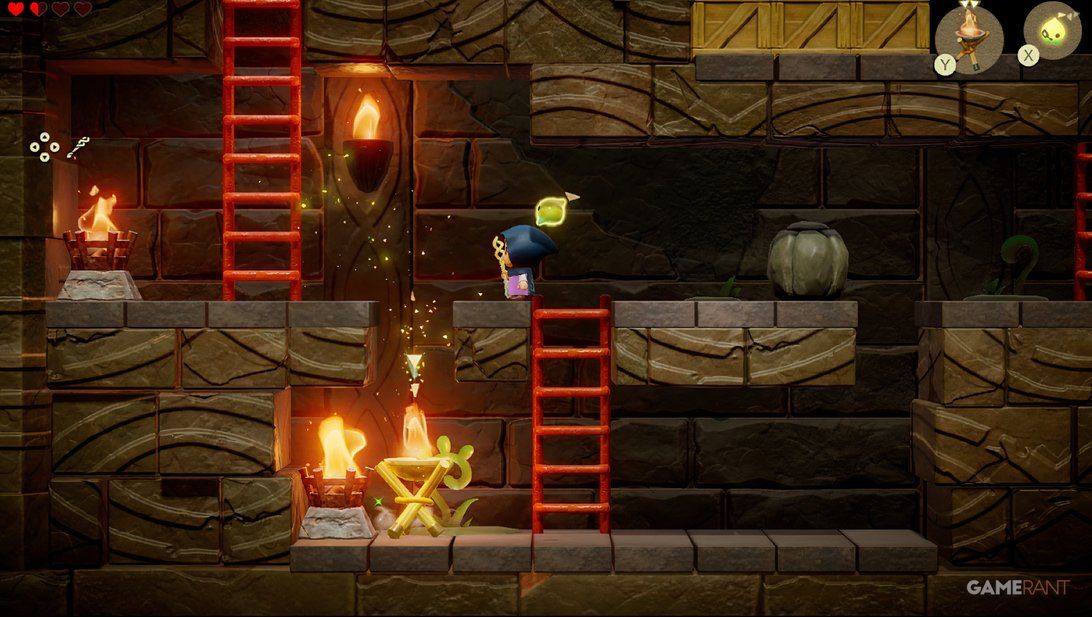
Now, head down the stairs leading to another 2D Mario-like section of Echoes of Wisdom. You’ll immediately notice one lit fire on the left side and one on the ground that’s not lit. We stood above the unlit one and dropped the Brazier Echo to light it on fire.
Push the rock on the right down the gap and then climb the ladder. To break the stack of wooden boxes, we accidentally summoned Darknut and just tossed him around like a sack of potatoes. This is definitely not the intended method for this puzzle, but it worked!
Now, light the unlit torch with another Brazier Echo. The gate will slide open, and you can climb the long ladder to reach another dungeon room.
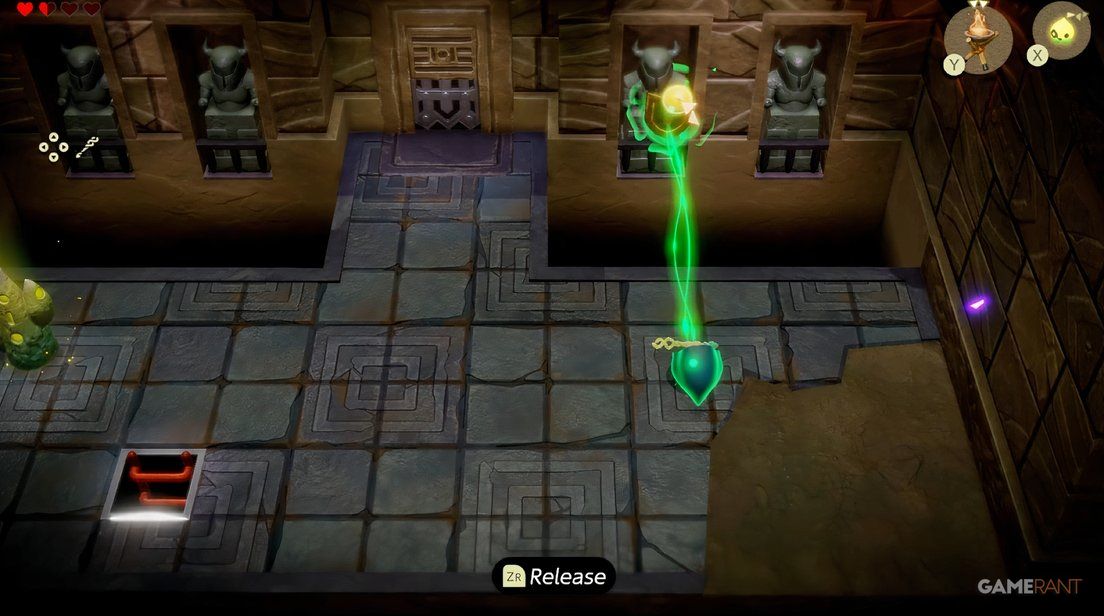
Next is a room with a fast-travel Waypoint and four suspicious suits of armor on the wall. Stand in front of the knight with the golden shield, press the X button, and pull it using Tri’s Bind power. The shield will fall, and the locked door will open.
Suthorn Ruins Chest 3
In the following room, there will be some bats (Keese) to defeat. If you head left, you’ll see a tall wall that seems like it can’t be crossed over, but you definitely can reach it. We used the tried and true three-bed-combo to get over it.
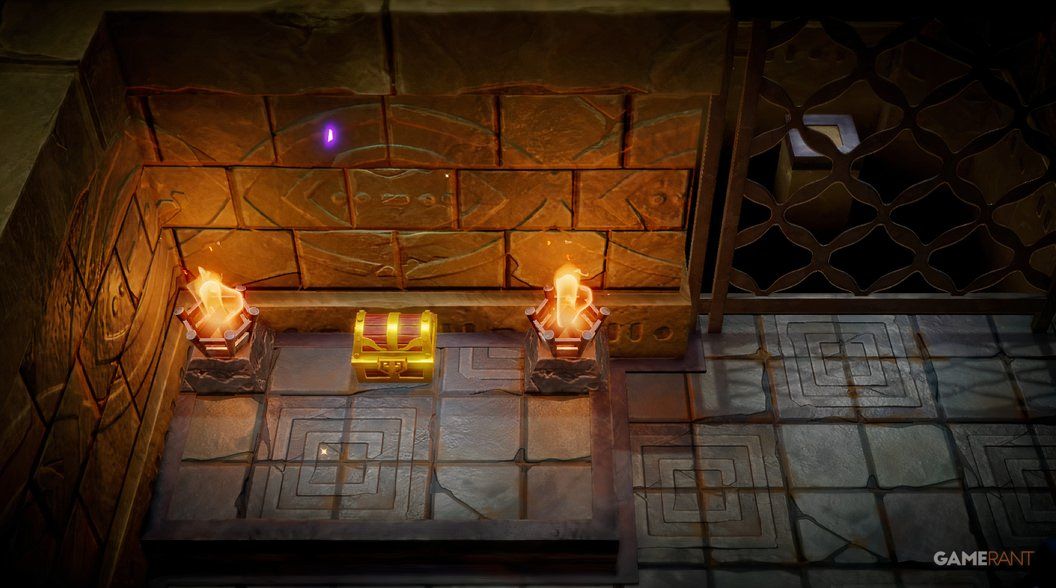
You’ll find a chest on the other side with a purple Rupee (Purple Rupees are worth 50 Rupees). Now, let’s head back to the main part of this room and then start heading north up the long staircase. This will take you into a ‘boss’ fight against someone you kinda know.
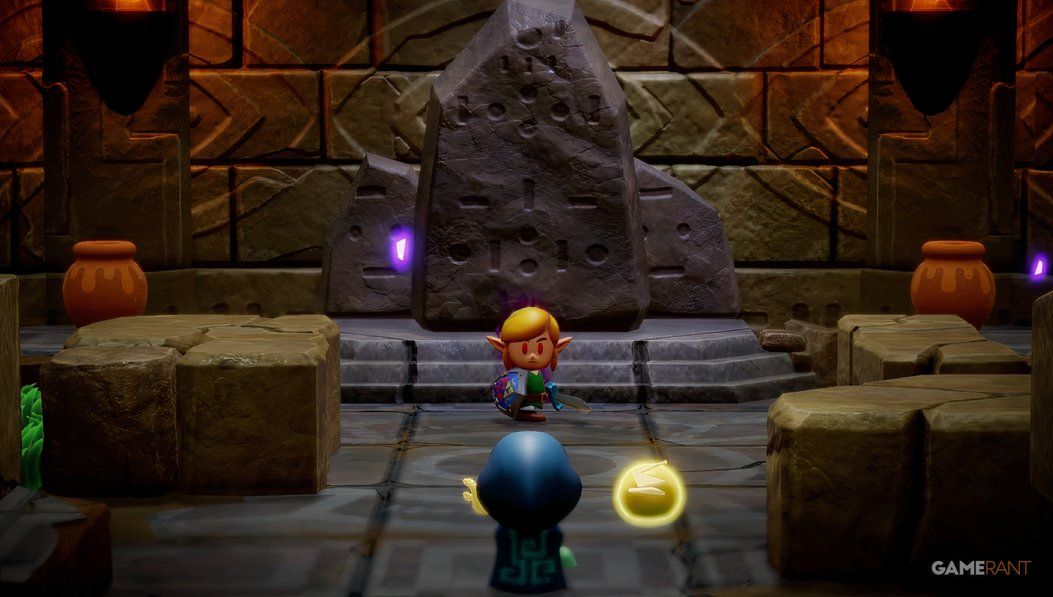
How to Beat Shadow Link in Echoes of Wisdom
Yes, this will lead to a fight against an evil version of Link. This is definitely not a hard fight by any means, but here are some tips based on our method of beating Link:
- We used the pots lying around and just tossed them at Link when he was looking away from us. Of course, you can summon pots and do the same thing.
- Once he bends over for a second, try to inflict as much damage as possible. It’s not easy with no sword, but throw pots or something as fast as you can.
- Once he starts charging towards you with his shield up, try and distract him with a small monster and then hit him from behind with a pot.
- The Caromadillo Echo came in handy, too, for hitting Link from far away.
Once the fight comes to an end, a sword will appear in front of Zelda. This will give you the power to go into a swordfighter mode, allowing you to have the powers of Link for a limited time by pressing up the d-pad. Use the sword with the Y button to break the purple goo at the back of the room. Head down the ladder to another 2D section.
Suthorn Ruins Chest 4
Head to the bottom of the room to find a large boulder. Use Bind on the rock and climb the ladder on the left to lift it. Push it against the wall near the chest in the room. Now, go to the topmost platform, fall off the right side, and you’ll land on the boulder. The chest contains the Heart Pin accessory for Zelda, which makes hearts appear more often. Now, return to where the boulder originally was and drop down the ladder.
Suthorn Ruins Walkthrough (1F – Again) – Echoes of Wisdom Guide
In the next room, break the pots to maybe find some Floral Nectar, and then head into the next room. There will be a locked door to the right that needs a Small Key. You can also find a new Waypoint near the boss room to the north.
Related
What’s Your Favorite Creature in the Zelda Universe?
From adorable Sand Seals to strange mummy-like monsters, the Zelda universe has creatures of all shapes and sizes. The Wind Waker is my favorite Zelda game, and I immediately fell in love with the adorable wooden people inhabiting Forest Haven. I was delighted when I learned Koroks would return for BOTW. Koroks are without a doubt my favorite creatures in the Zelda universe.
But for now, let’s go into the room on the bottom left. Fight the plant monster, and you’ll get the Deku Baba Echo, which is great for fighting other Deku Baba’s actually.
To open the locked doors in the room, you’ll have to kill all the plants. Break the goo wall with your sword form (up on the d-pad) and beat that plant up. We used a bed and summoned a plant to reach (and defeat) the one in the top-right corner.
Suthorn Ruins Chest 5
Now, head into the door on the left to find a puzzle room with a chest and a statue. Use the X button to Bind yourself to the statue. Walk up the slanted platform, then move to the right to slide the statue onto the switch in the corner.
Open the chest to find a whopping 50 Rupees.
Suthorn Ruins Chest 6
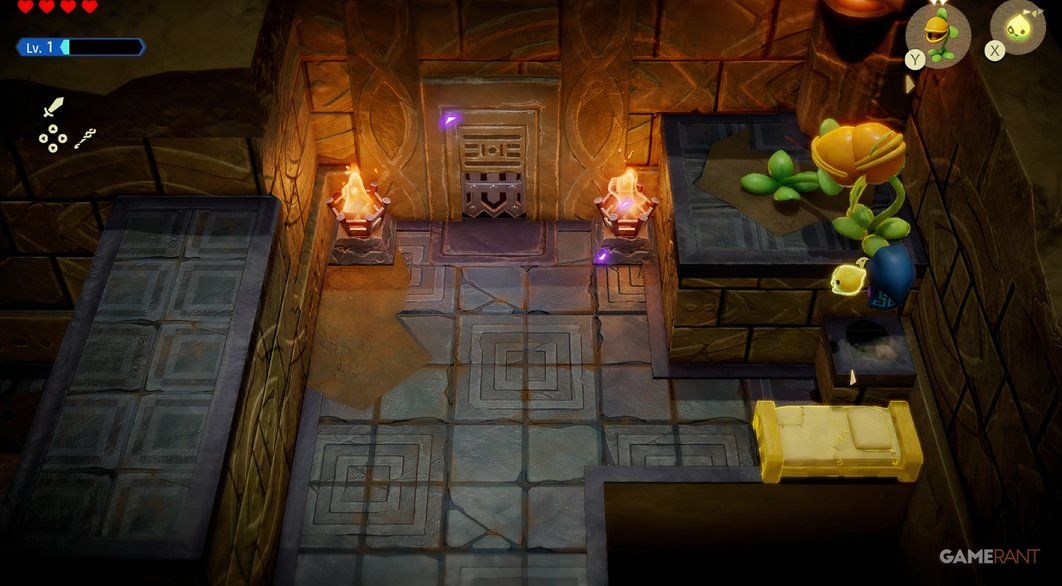
Leave the room, go up, and enter the room to the north. You’ll see two lit flames and a Deku plant. Use Bind on the plant and pull it until it dies (sorry). This will reveal a hidden chest containing the Small Key we need for that door in the main room with the Waypoint.
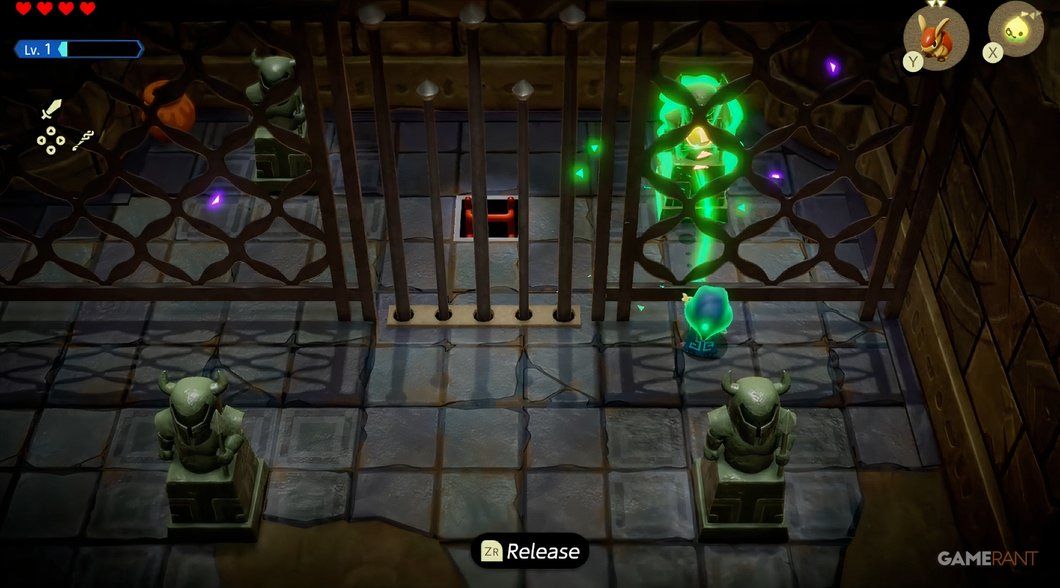
There are four statues in the next room. Use Bind on the one on the upper right and then position it on the switch to open the gate.
Before heading down the ladder, check out the pot on the left side of the room (we found a Fairy).
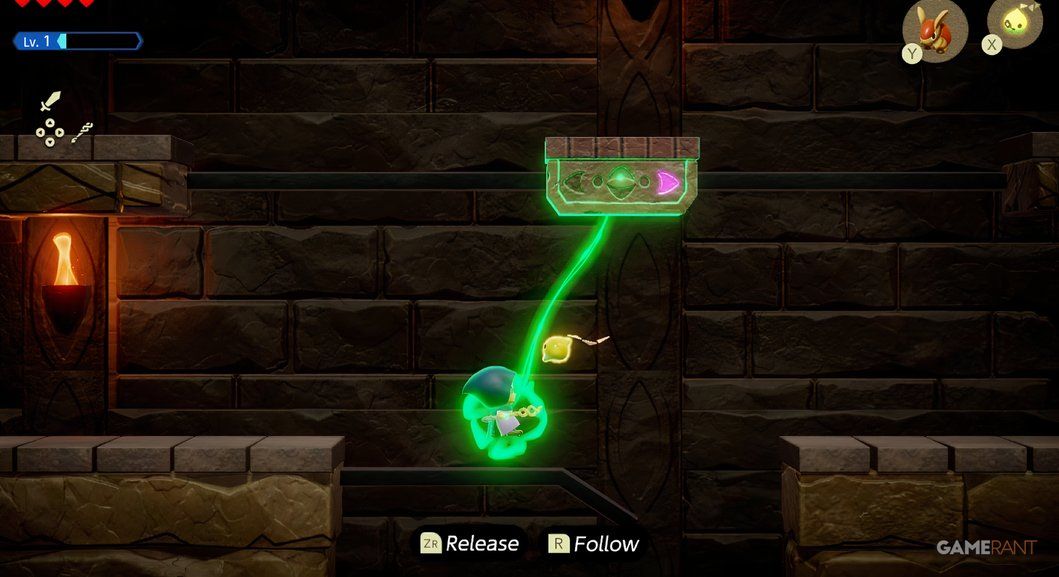
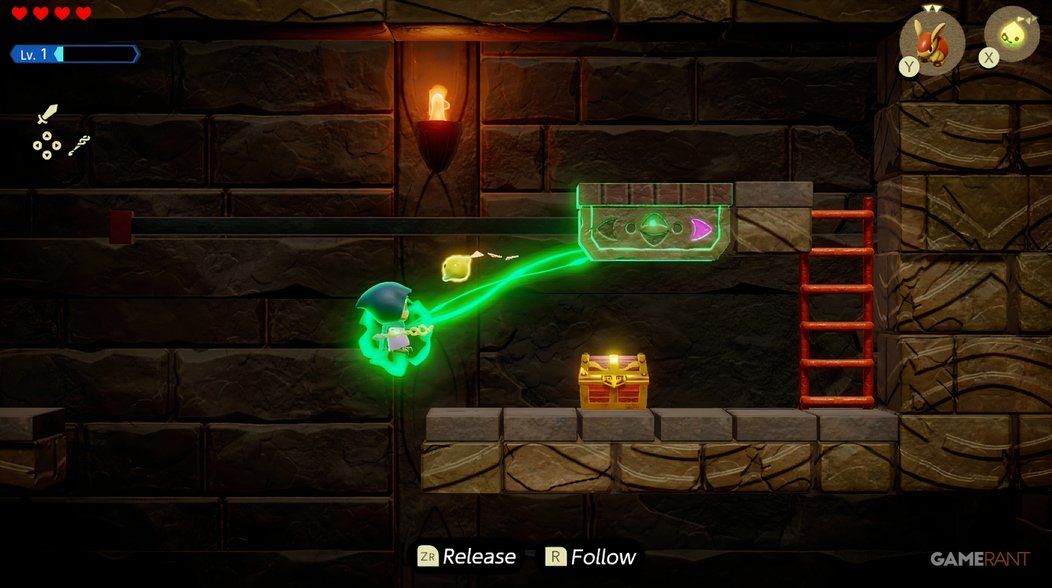
This takes us to another 2D section, but this time, there are moving platforms that Zelda can Bind on to. You can also use Reverse Bond by holding the R button, allowing Zelda to follow the path of an object. To try it out, aim up towards the platform and press X to use Bind. Hold R and then follow it to make it across the chasm to the other platform.
Suthorn Ruins Chest 7
Check out the right side of the room to find a chest with 20 Rupees. Just use your Bind/Reverse Bind skills to get over there.
Climb the ladder on the left to leave the area, and you’ll find yourself in a room with a large treasure chest, a statue, and a switch.
Suthorn Ruins Chest 8
You need to use Bind on the statue and find a way to elevate it so that it can reach the switch. Conjure a bed, stand on it, and then you should be able to drag the statue to the right spot. The large chest will have the Boss Key for Suthorn Ruins, letting us into the fancy door back in the main hall.
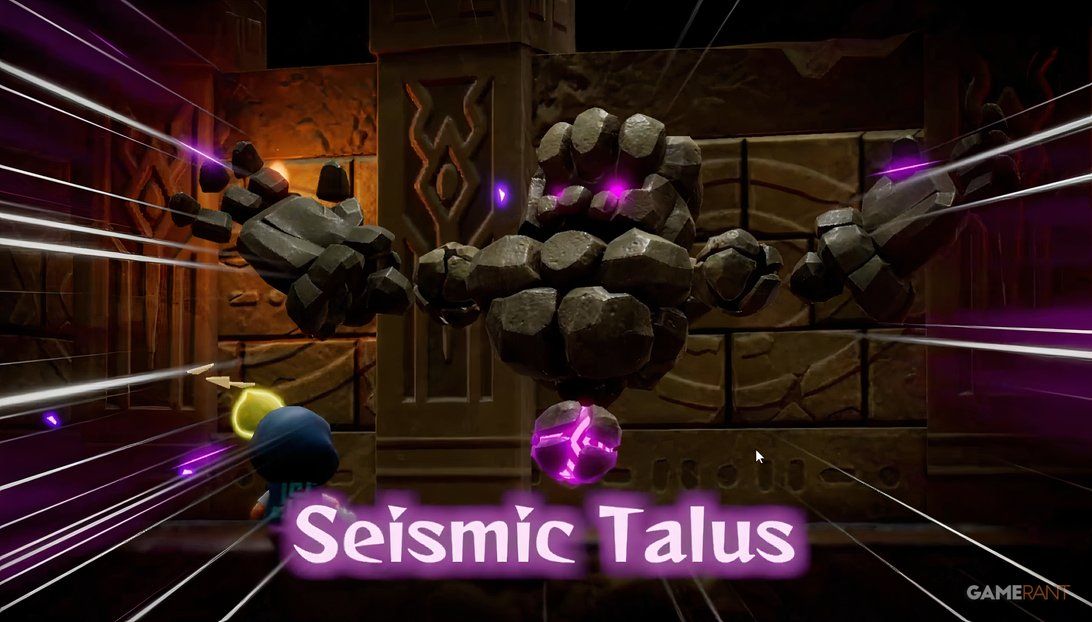
Use the key on the door, and you’ll face off against Seismic Talus, the first major boss of Echoes of Wisdom.
How to Beat Seismic Talus Boss in Echoes of Wisdom
Zelda bosses in 2D games aren’t known to be the hardest video game bosses or anything, but if you need some tips on how to take down Seismic Talus, here are some things to keep in mind:
- In the first phase, the glowing orb underneath him is the spot you want to attack. We threw pots at it and also sent our Caromadillo echo to deal damage.
- Once you do enough damage, the orb will fly out of the rock monster. This is the time to go into swordfighter form and press the attack button as fast as possible.
- Next, the glowing weak spot will appear on his shoulder. We used the spiked Sea Urchin echo to bombard the spot, but you can throw pots, too.
- And for the last spot, it’s right on his head, which is the hardest to reach.
- We found the best way to do damage is to wait until he slams his hands down. You have seconds to jump on the hands and hit him with whatever you have.
- Keep hitting the purple orb and the boss will be dead and gone, leaving Link with a full Heart Container. This will increase his max hearts by one.
Tri will also give Zelda five Unusual Crystals, which you will learn soon enough about their use.


